
So to give you a good idea of what I did, I'm going to walk you though my process.
 1. Design
So I really wish I spent more time making a good design for the class. Class time was used for the actual production of the design. I hadn't really made any design before that I wanted to screen print. Since this would be my first time screen printing, I wanted to make sure that I had a design that would be easy for me to learn on. I decided to base my screen print off a picture that I had taken while in London.
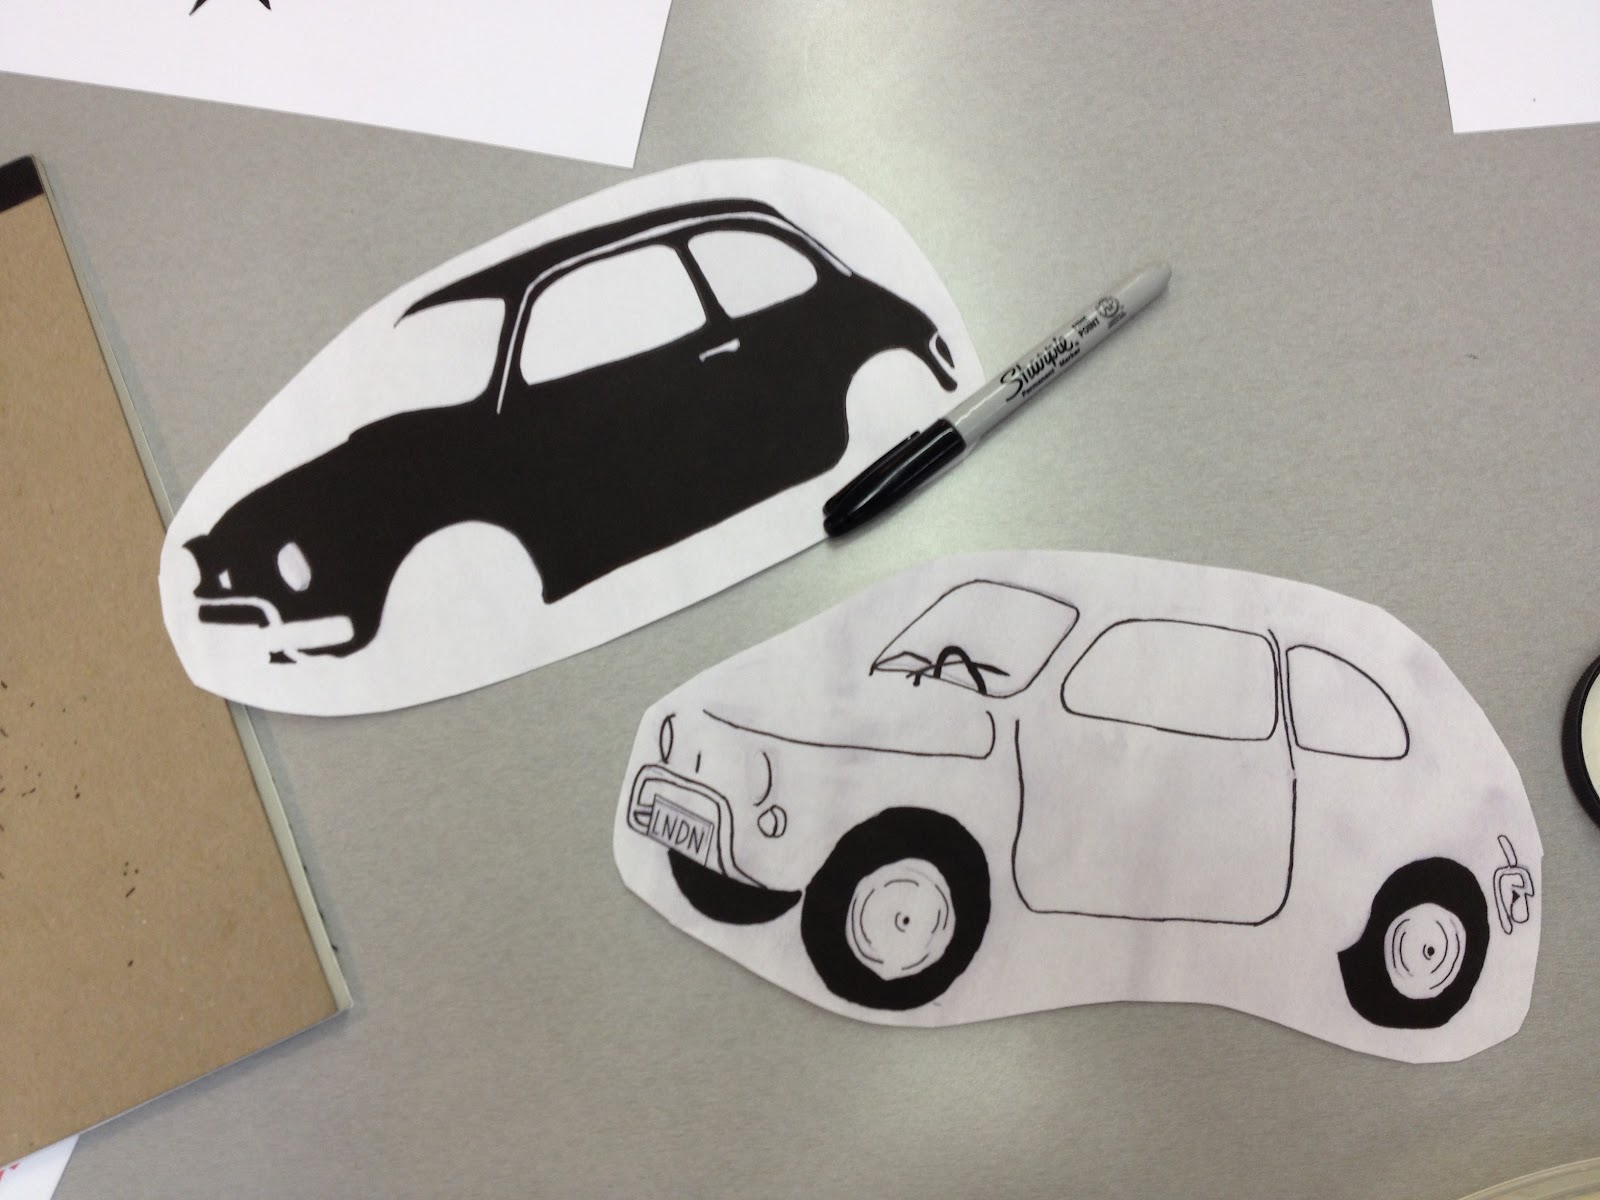 I then took to pen and paper sketching the car because I wanted it to have an illustrated look. I scanned the paper into the computer and did some touch up work. I made different layers just so I could see what the finish product might actually look like. In screen printing, each color must be printed on a separate layer. I was only working with 2 colors so I only needed 2 layers.
 2. Grease it up, baby.
So after I had printed out each layer in black and white, I needed to grease the paper up with some baby oil. In order to burn your design into your screen, the paper must be translucent. The design should be printed on the paper in black in order to block light from getting to the screen. Some screen printing tutorials teach to print on mylar. Greasing up the paper is easier, more cost effective and works just as well.
 3. Go into the scary basement.
Now it's time to head to the dark, scary basement so we can grab that photo emulsion. Using a trough, I put a thin layer of the emulsion on the screen. I let the emulsion dry for about a half hour next to a fan. Then I grabbed my prints and headed to the light box. I placed the prints on the glass in the light box then set my screen flush with the glass, sandwiching the prints between the glass and the screen. A vacuum makes sure the screen is pressed tightly against the glass to insure no unwanted light gets to the screen. About 7 minutes later I have a screen that displays the shapes of my layers.

While I was waiting for my screen to dry and expose, I mixed ink. This is probably the hardest part of screen printing. I was trying to make a color similar to the yellow that was in the photograph. It turned out to look like mac and cheese. So I decided to mix up a turquoise color. That was just as hard. So I decided to use both colors and just have ugly colors. Once I printed the colors they dried into wonderful shades. So I guess my color mixing experienced turned out to be better than I thought.
 5. Sectioning off your layers.
While you can print multiple layers on one screen it's important to cover any layers you won't be printing at that time. Ink has a mind of it's own. It's best to be able to control where it can and cannot go.

6. Getting your hands dirty!
Now's the fun part! Printing. You've got to place the ink at the top of the image and take your squeegee and pull it towards you. Then you keep doing it over and over again on different sheets of paper. It's handmade mass production. The best, and worst, part about screen printing is the margin of error. Sometimes I would have mess ups because either my screen was sticking to the paper or I made general mistakes and had little experience. Either way, each print turns out a little differently. Each piece has it's own unique character.

Now that I have the first layer done it's time to move to the next one. I section off the next layer and go through the printing process again. This step requires attention to detail. You have to make sure that each layer lines up with the previous layer. I did this by printing the new layer on a sheet of mylar. I then would position the paper with the first layer under the mylar. I would be able to make marks on the table as a reference to put the rest of the paper while I print the new layer.

8. Done!
I had a lot of fun screen printing and I plan on doing it again. I just want to screen print everything now. Hopefully I can do more of it in the future.
Now I have all these cars laying around. So many in fact, I'm selling 10 of each color on my etsy shop.


No comments:
Post a Comment